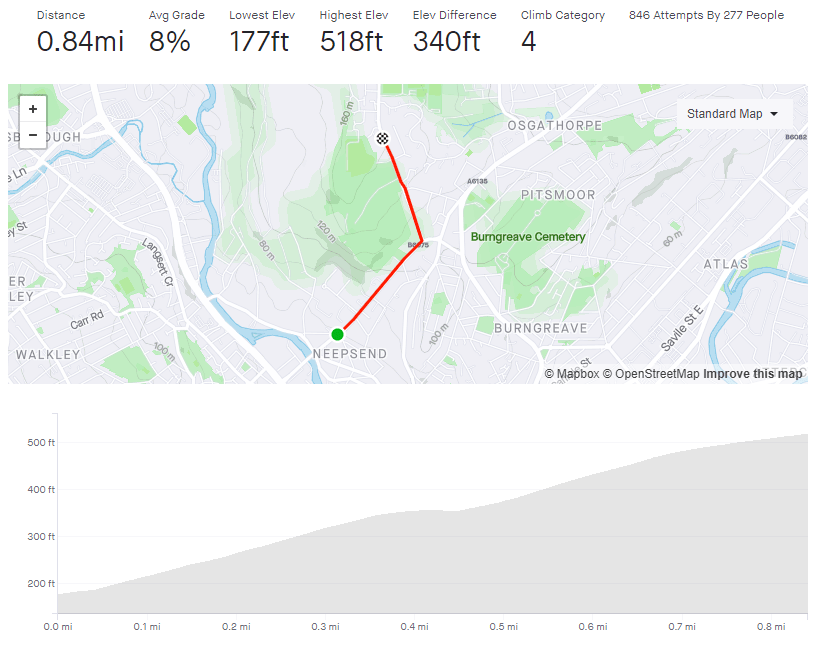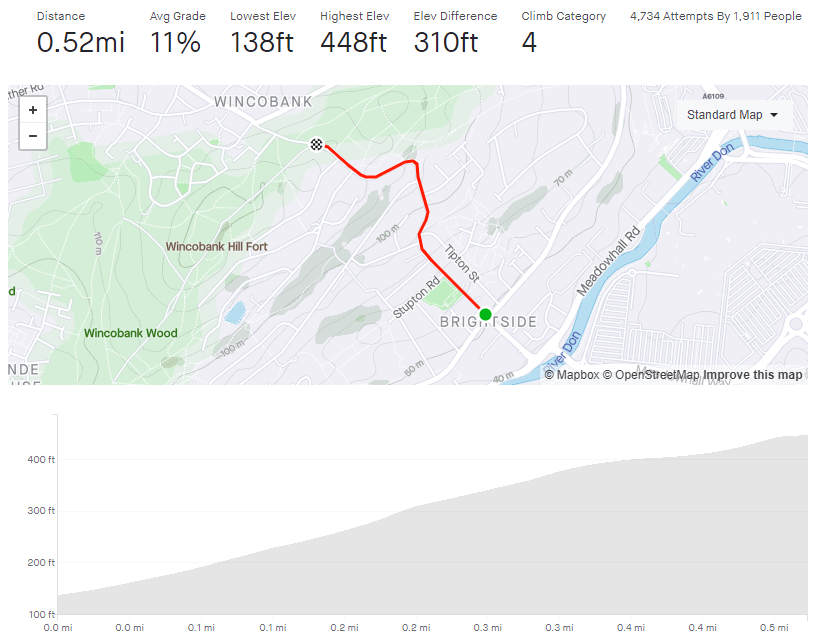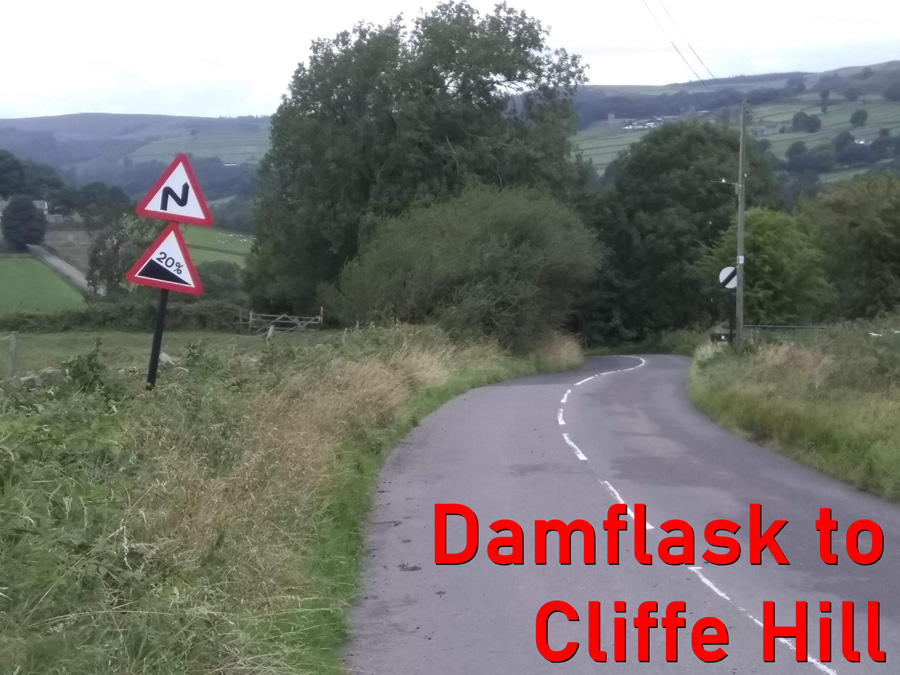
- Damflask to Cliffe Hill
- Length: 1.08 miles
- Avg gradient: 4.2% Peak gradient: 25%
- Difficulty: 3/5
- Likelihood of encountering unpleasant motor-vehicles: 2/5
- Elevation gain: 242ft
- Strava
From the reservoir to the ice cream.
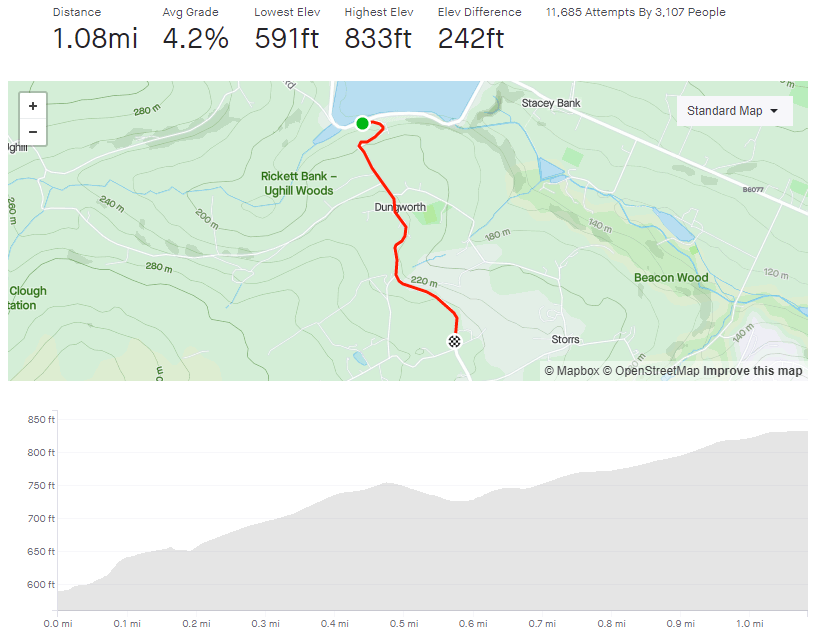
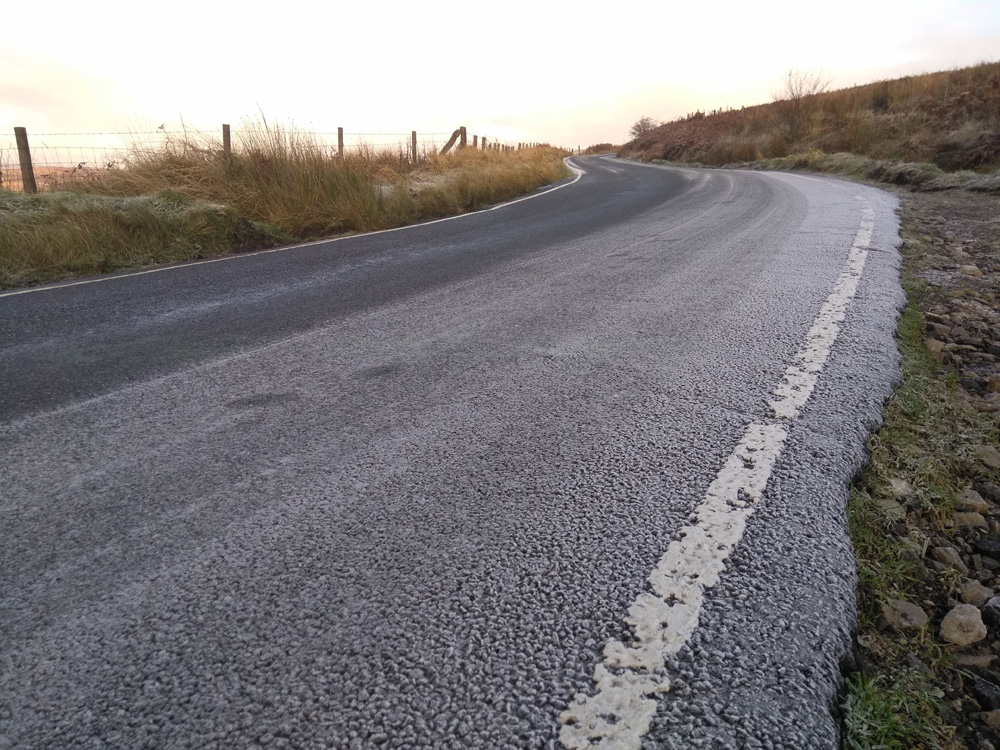
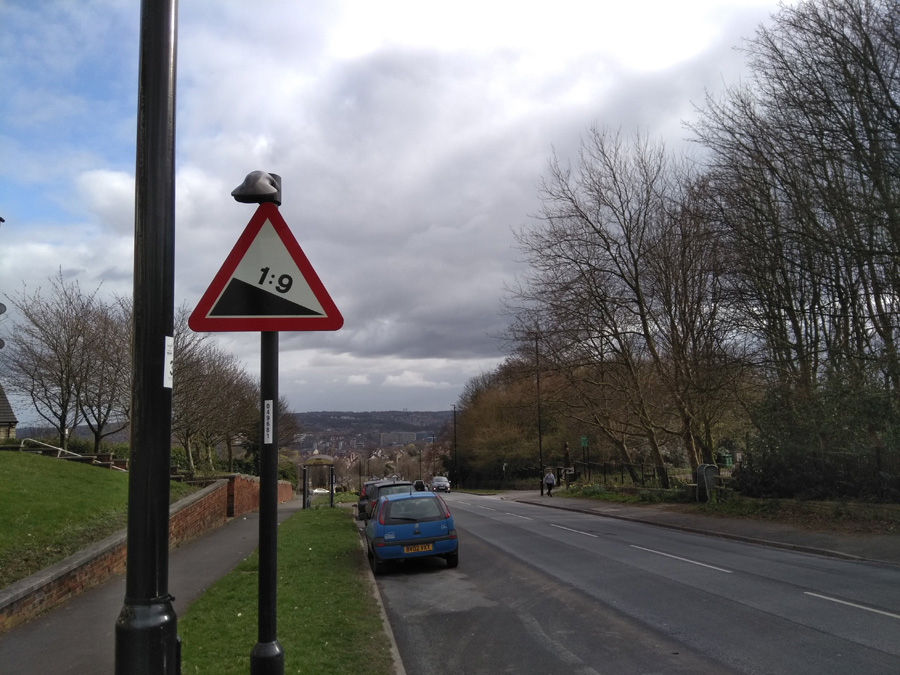
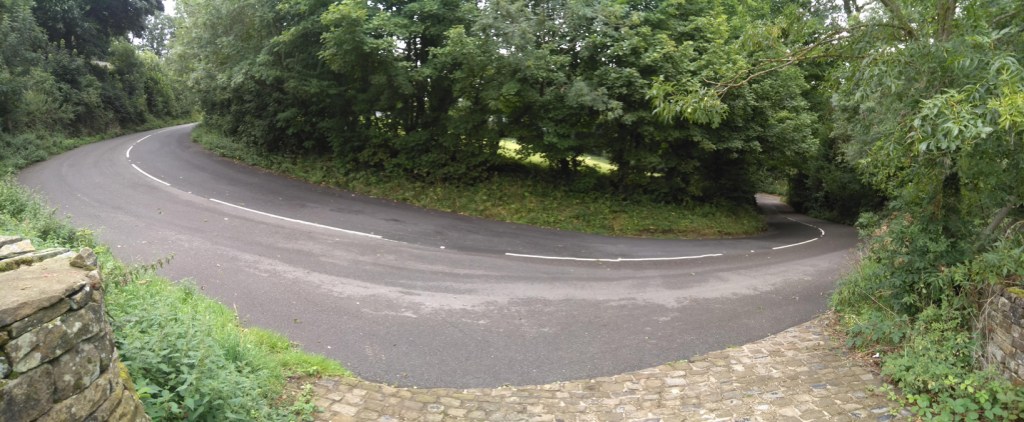
Don’t be lulled into a false sense of security when looking at the average gradient, this climb includes a chunk of descent and, at the very start, a couple of torturous turns.

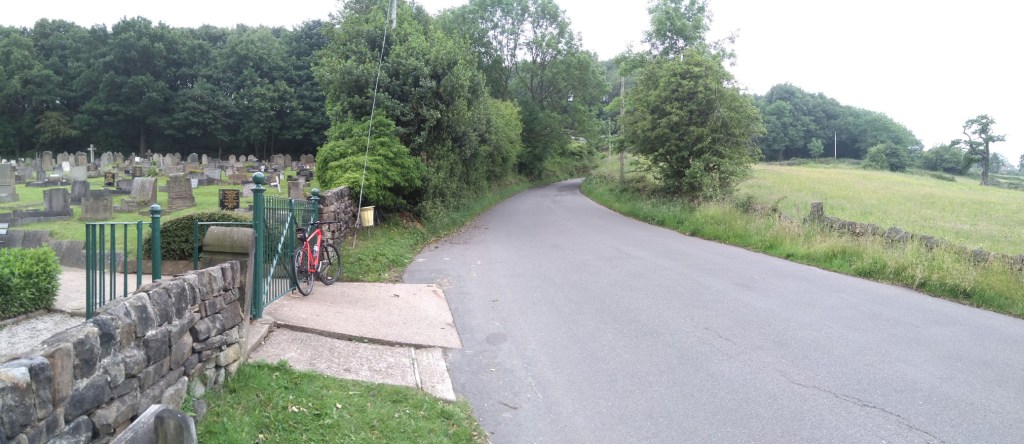
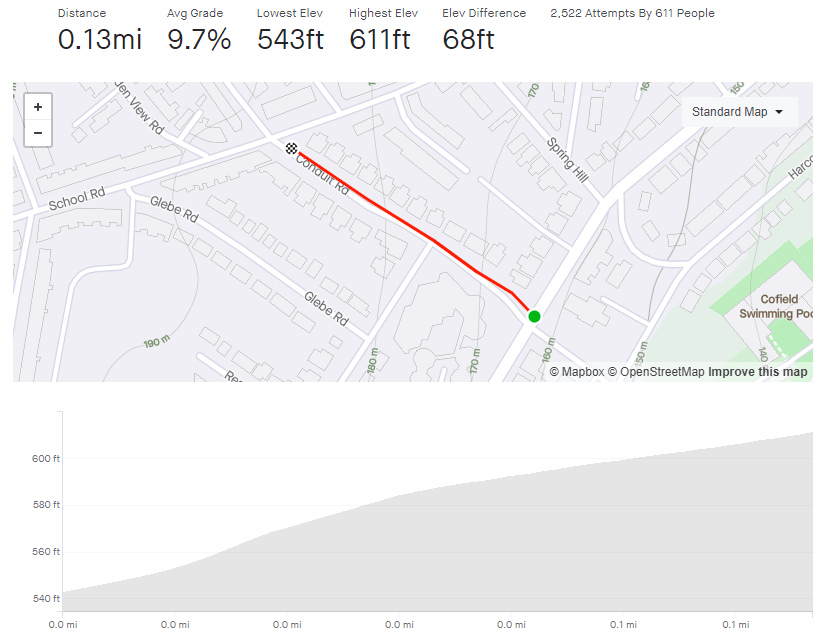
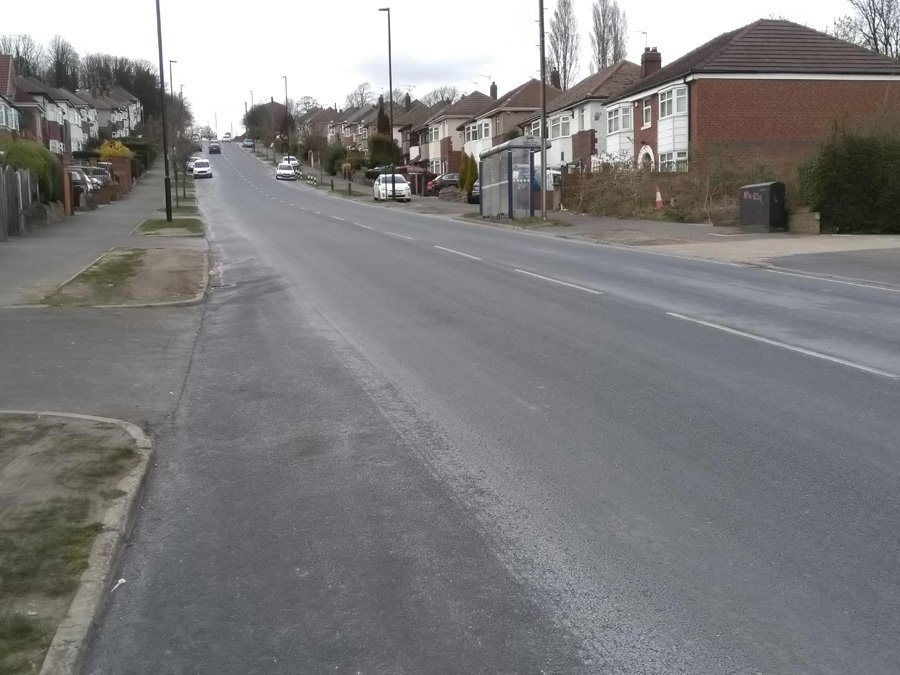
Begin at the south side of Damflask Reservoir, a body of water surrounded by numerous challenging cycle climbs. You could probably make a nice day trip to do them all in one go. The one we’re focusing on though probably has the hardest opening. Turning sharply on to Briers House Lane, the approach to the first switchback quickly reaches 9% before ramping up to 25% at the corner’s apex.
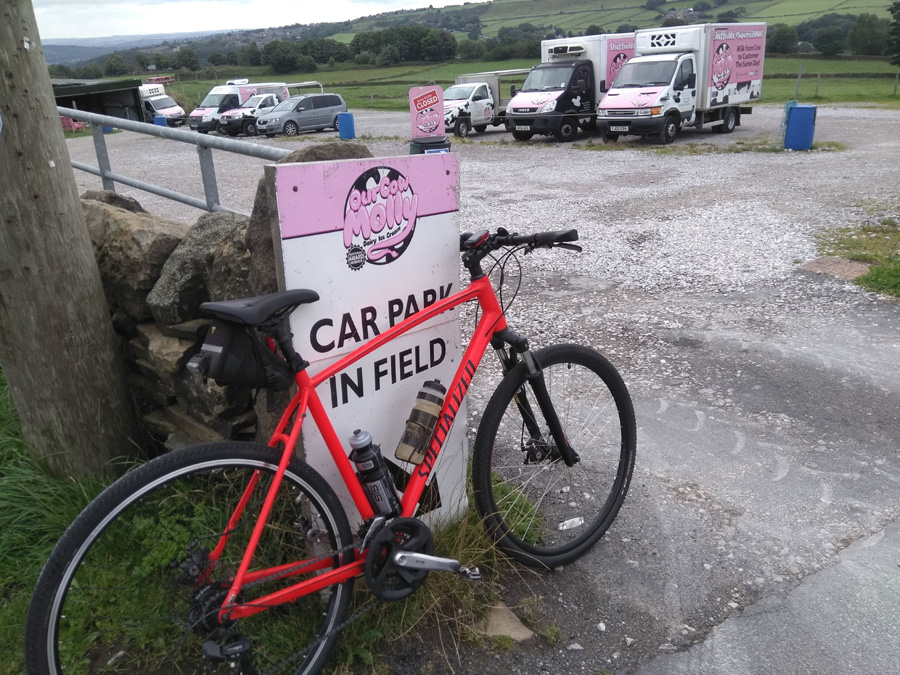
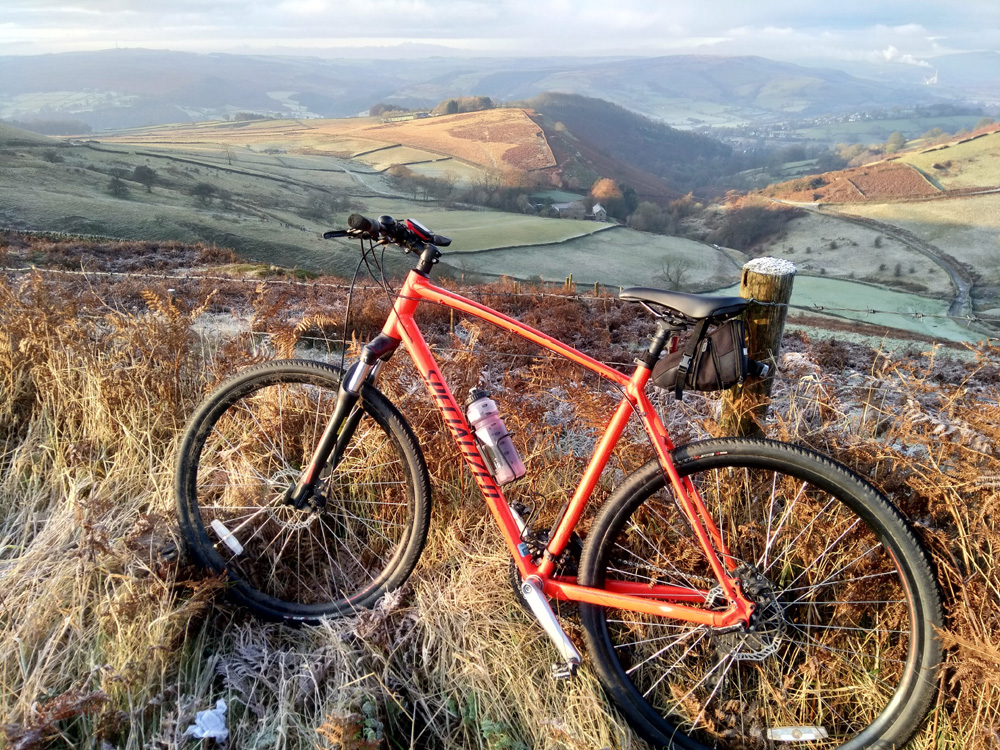
That’s the steepest bit of the climb over with quickly but you’ve still got about a mile to go before you reach Our Cow Molly and that ice cream you’ve been promised. It’s a similar distance to the next switchback but, this time, hovering around the 5% mark, so not so steep. Take glance to the right, looking out over the reservoir, to appreciate how high you have already climbed.
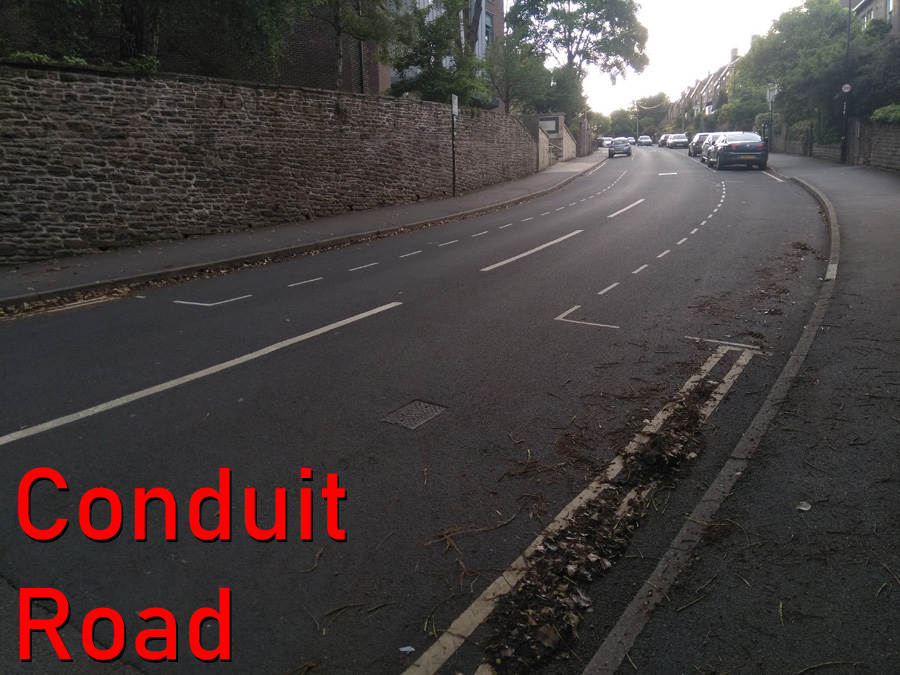
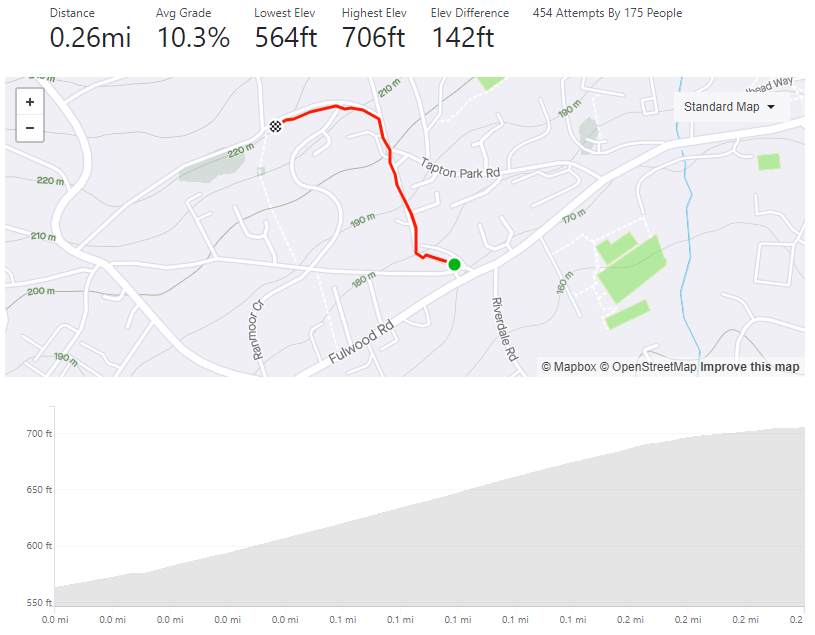
Strava says that the corner is only 12%, but it also says there is a little descent beforehand, so I think there must have been some GPS errors when this segment was made because there certainly isn’t a drop and I can’t believe that the second corner is any shallower than the first, especially as you need to be on the inside of this one.

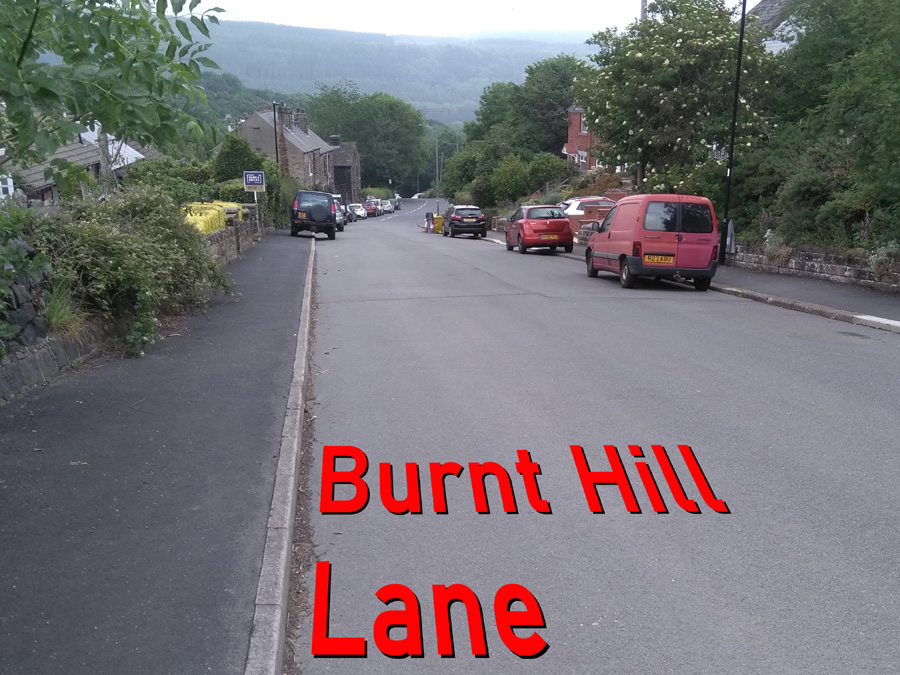
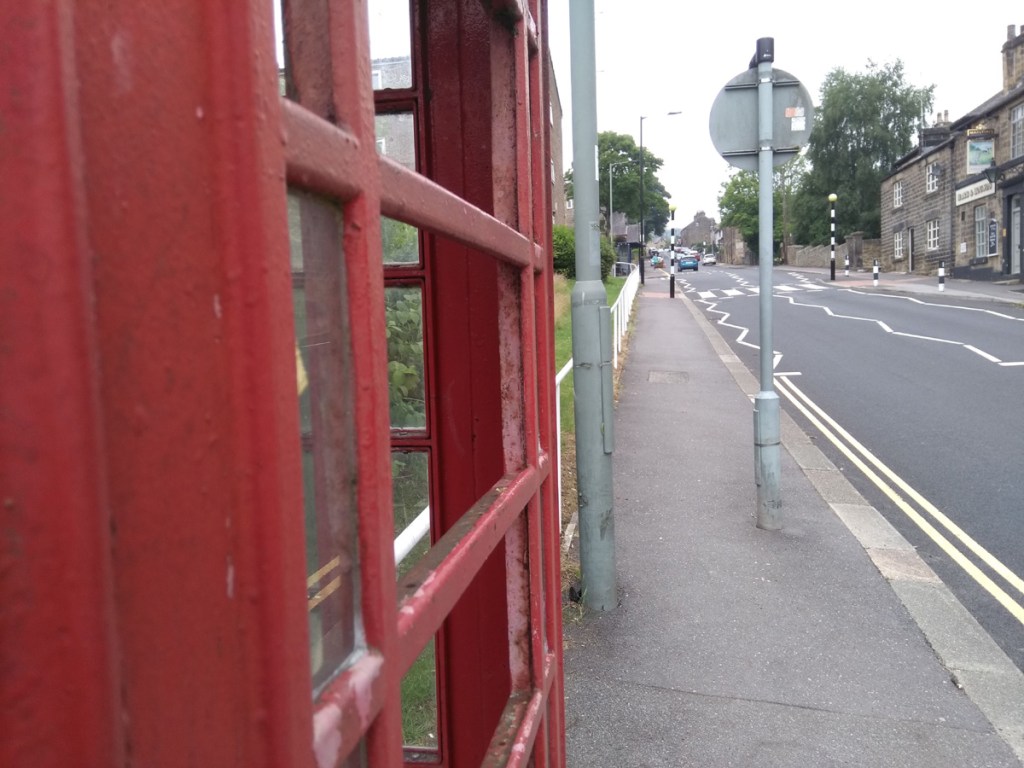
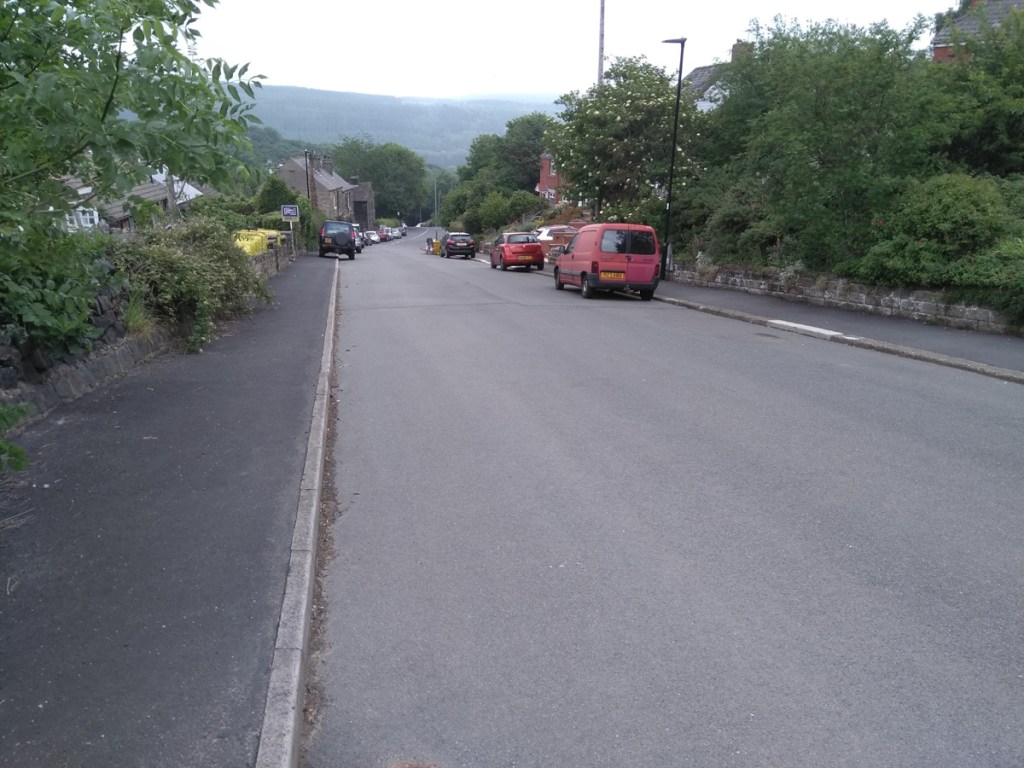
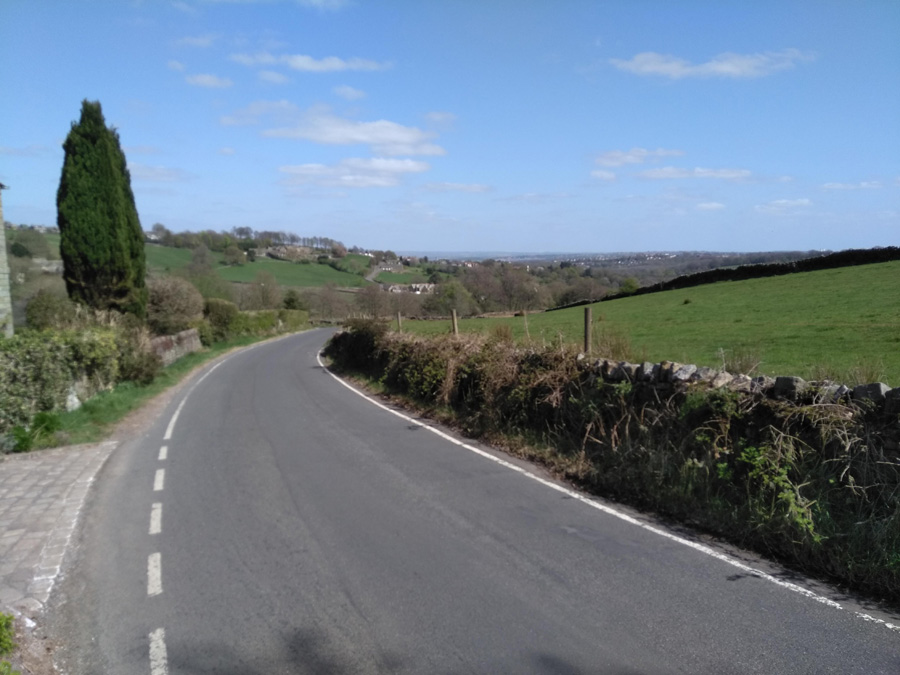
The good news is that it’s a much gentler climb from here on. The straight section ahead fluctuates between 5-9%, and it was here, at the large stone marking the entrance to the hamlet of Dungworth, that I was originally going to end the climb entry but the hill does continue to ascend. So, carry onwards through the village and, as the road wiggles slightly, you’ll see an old phonebox (which now contains a defibrillator, I think) that marks the short descent before the final climb.
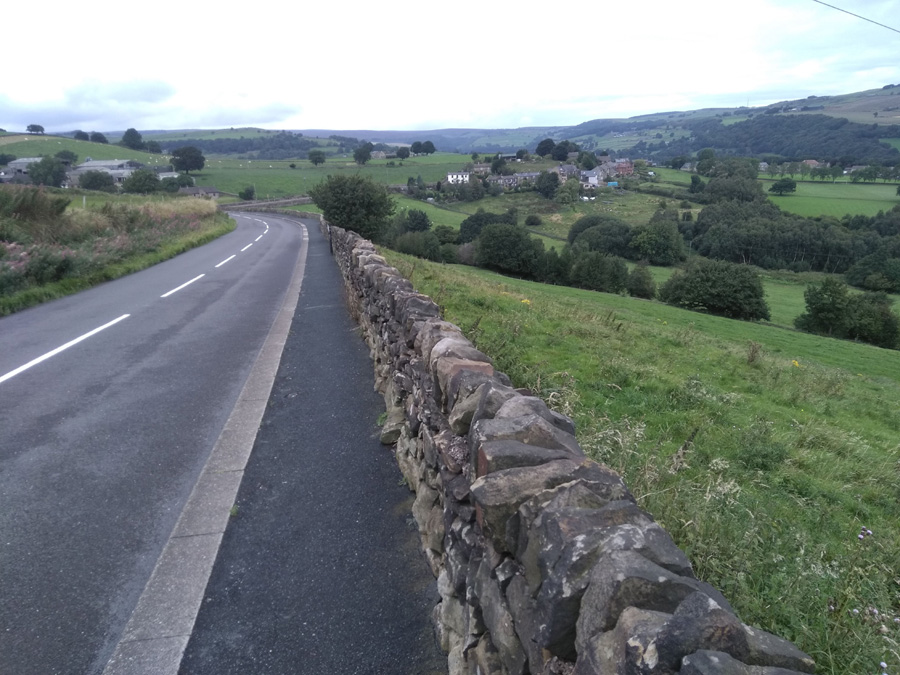
Stay on as the road bends around to the left and the view of the valley below really opens up. It’s a gentle climb, mostly staying in the low single figures, before you finally arrive in a place called, appropriately enough, ‘Hill Top’ and Our Cow Molly, with that ice cream you’ve been looking forward to.